Hi All! This is in continuation with the previous blog post regarding set up. This post will contain the brief walk-through the process of setting up the cubieboard.
The first step is to burn the linux image on the micro SD card, and then use this micro SD card to boot the board. The BerryBoot interface is quite user-friendly and we can follow the instructions on it to successfully complete the process. Details for this can be found here.
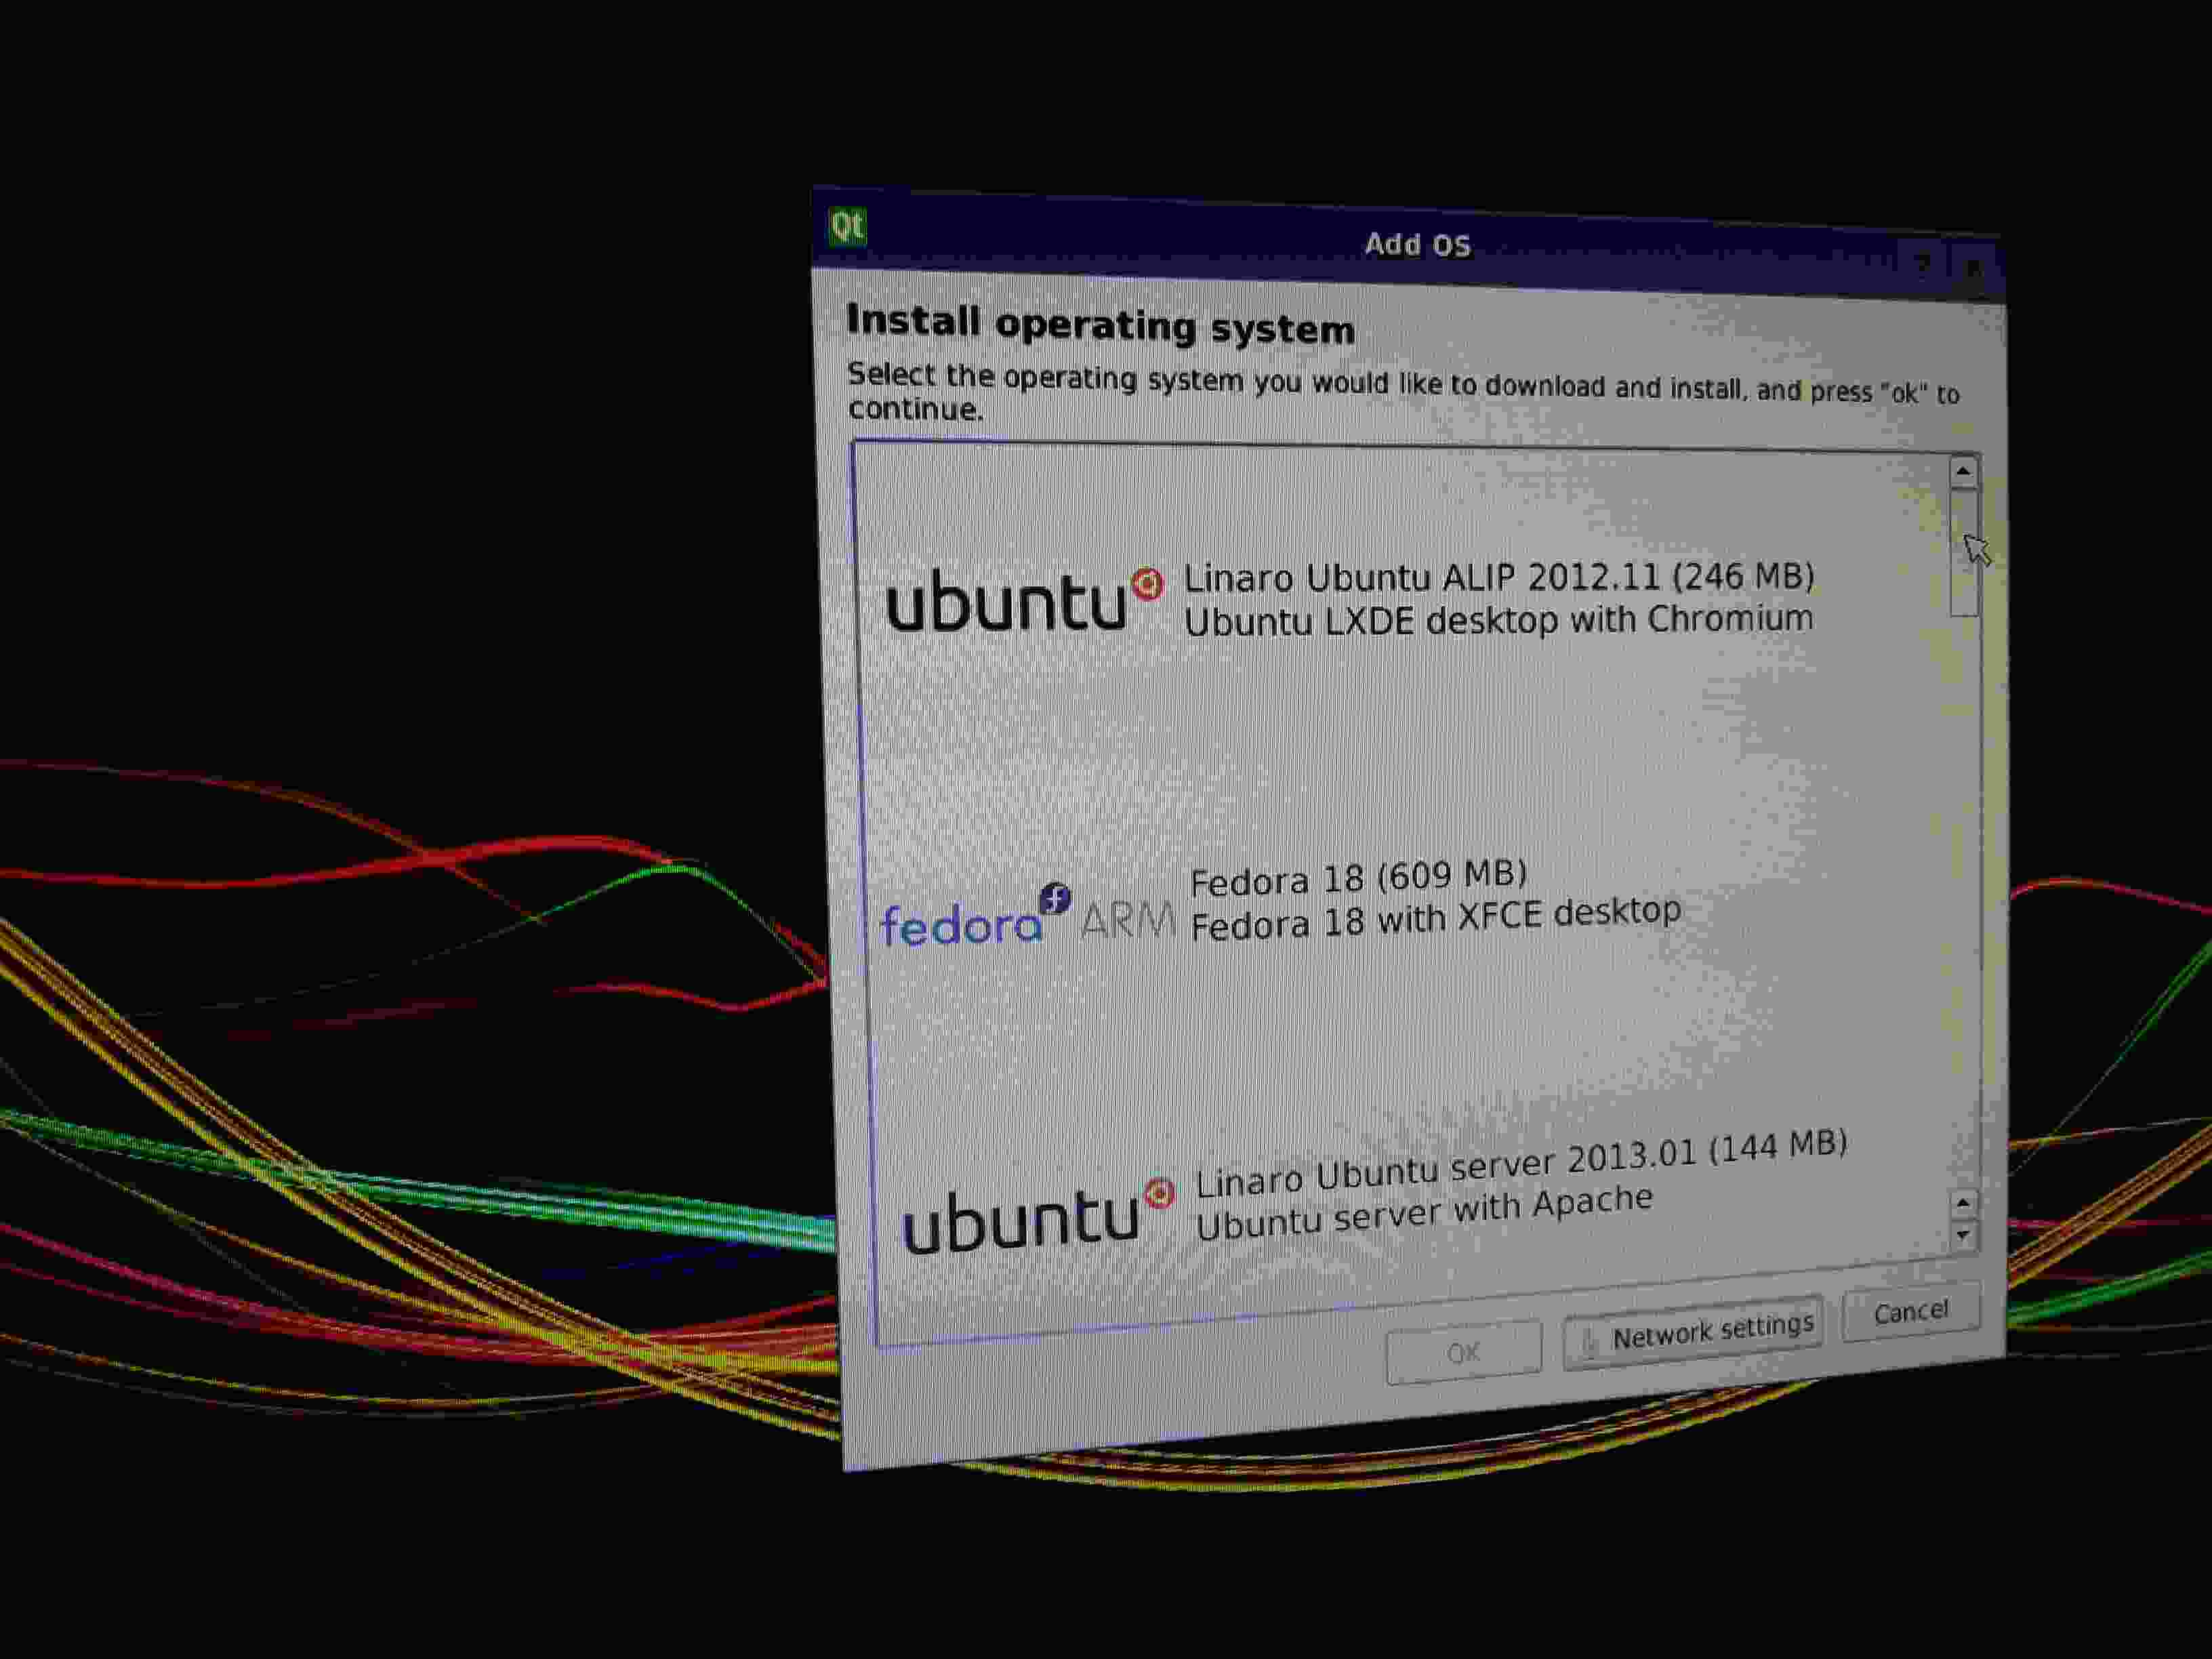
The latest set of linux distributions that are available can be seen when we power on the board with the micro SD card inserted. This image depicts the screen as visible:
 After completing the installation process (takes about 10 minutes) we successfully install Linaro Ubuntu 2012.11
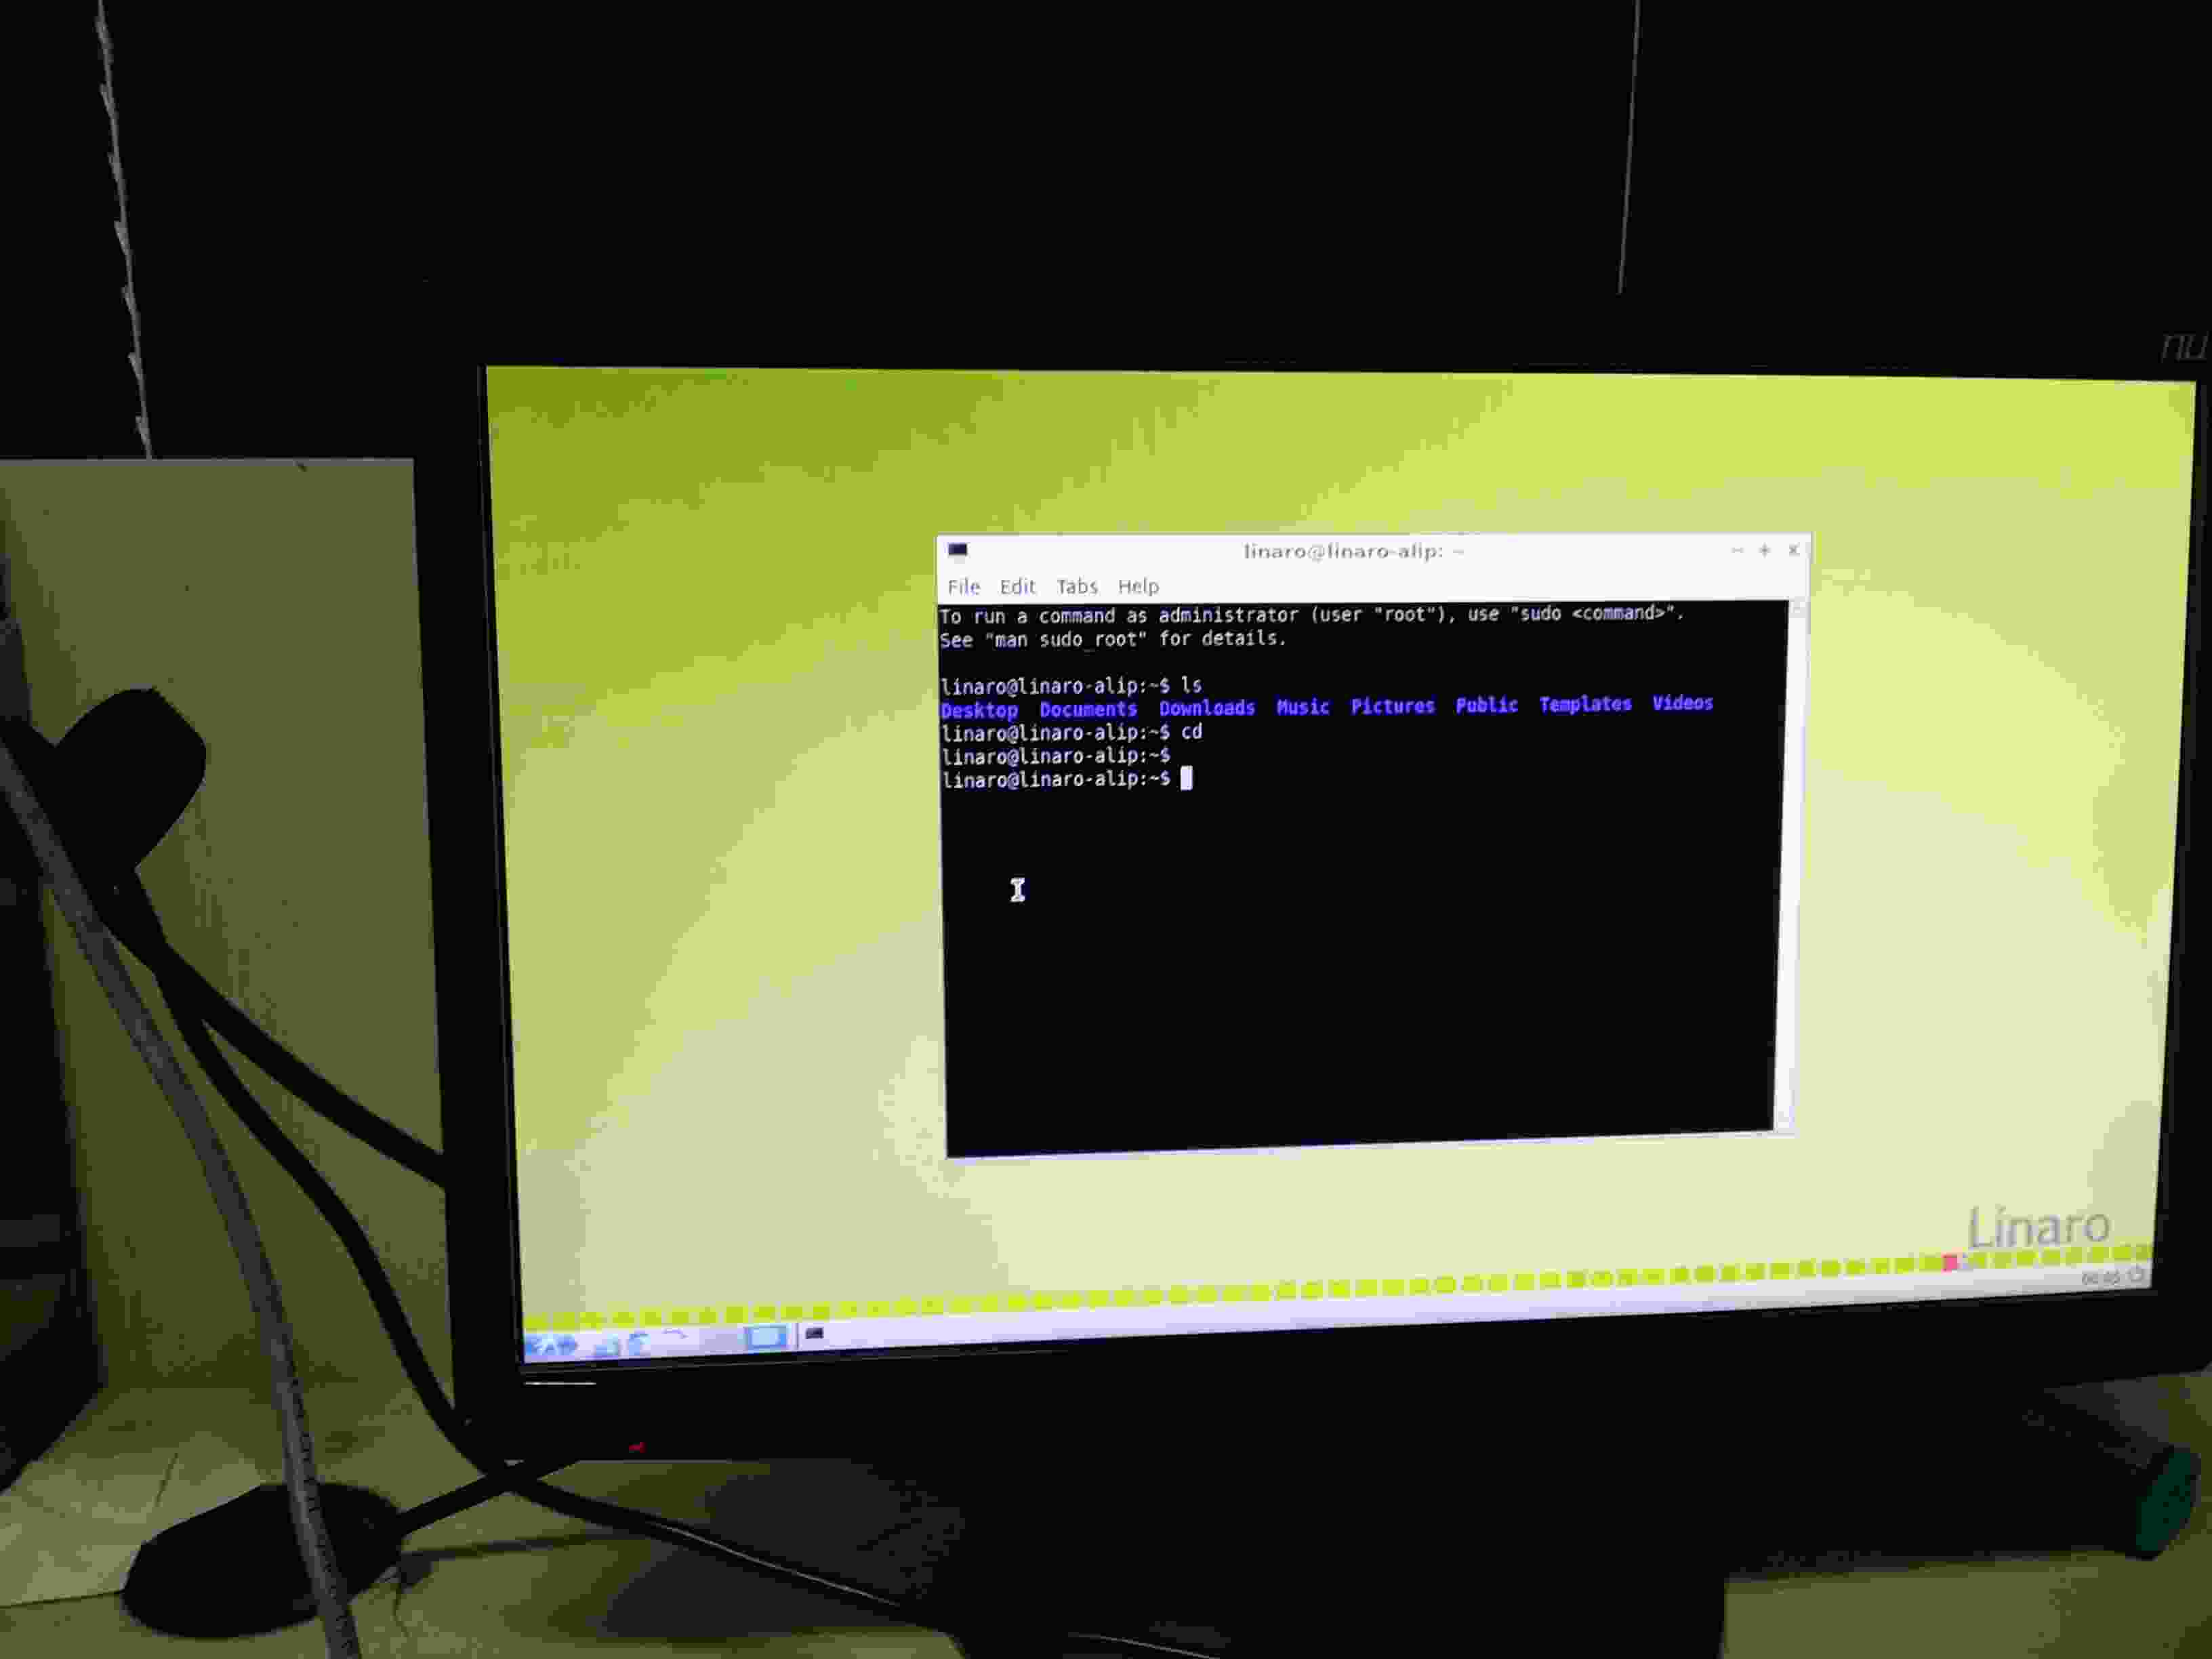
The Home screen looks like this:
 Thus, the set-up process is completed. A schematic for the cubieboard can be found here. Also, a cool video with the whole process can be seen here.
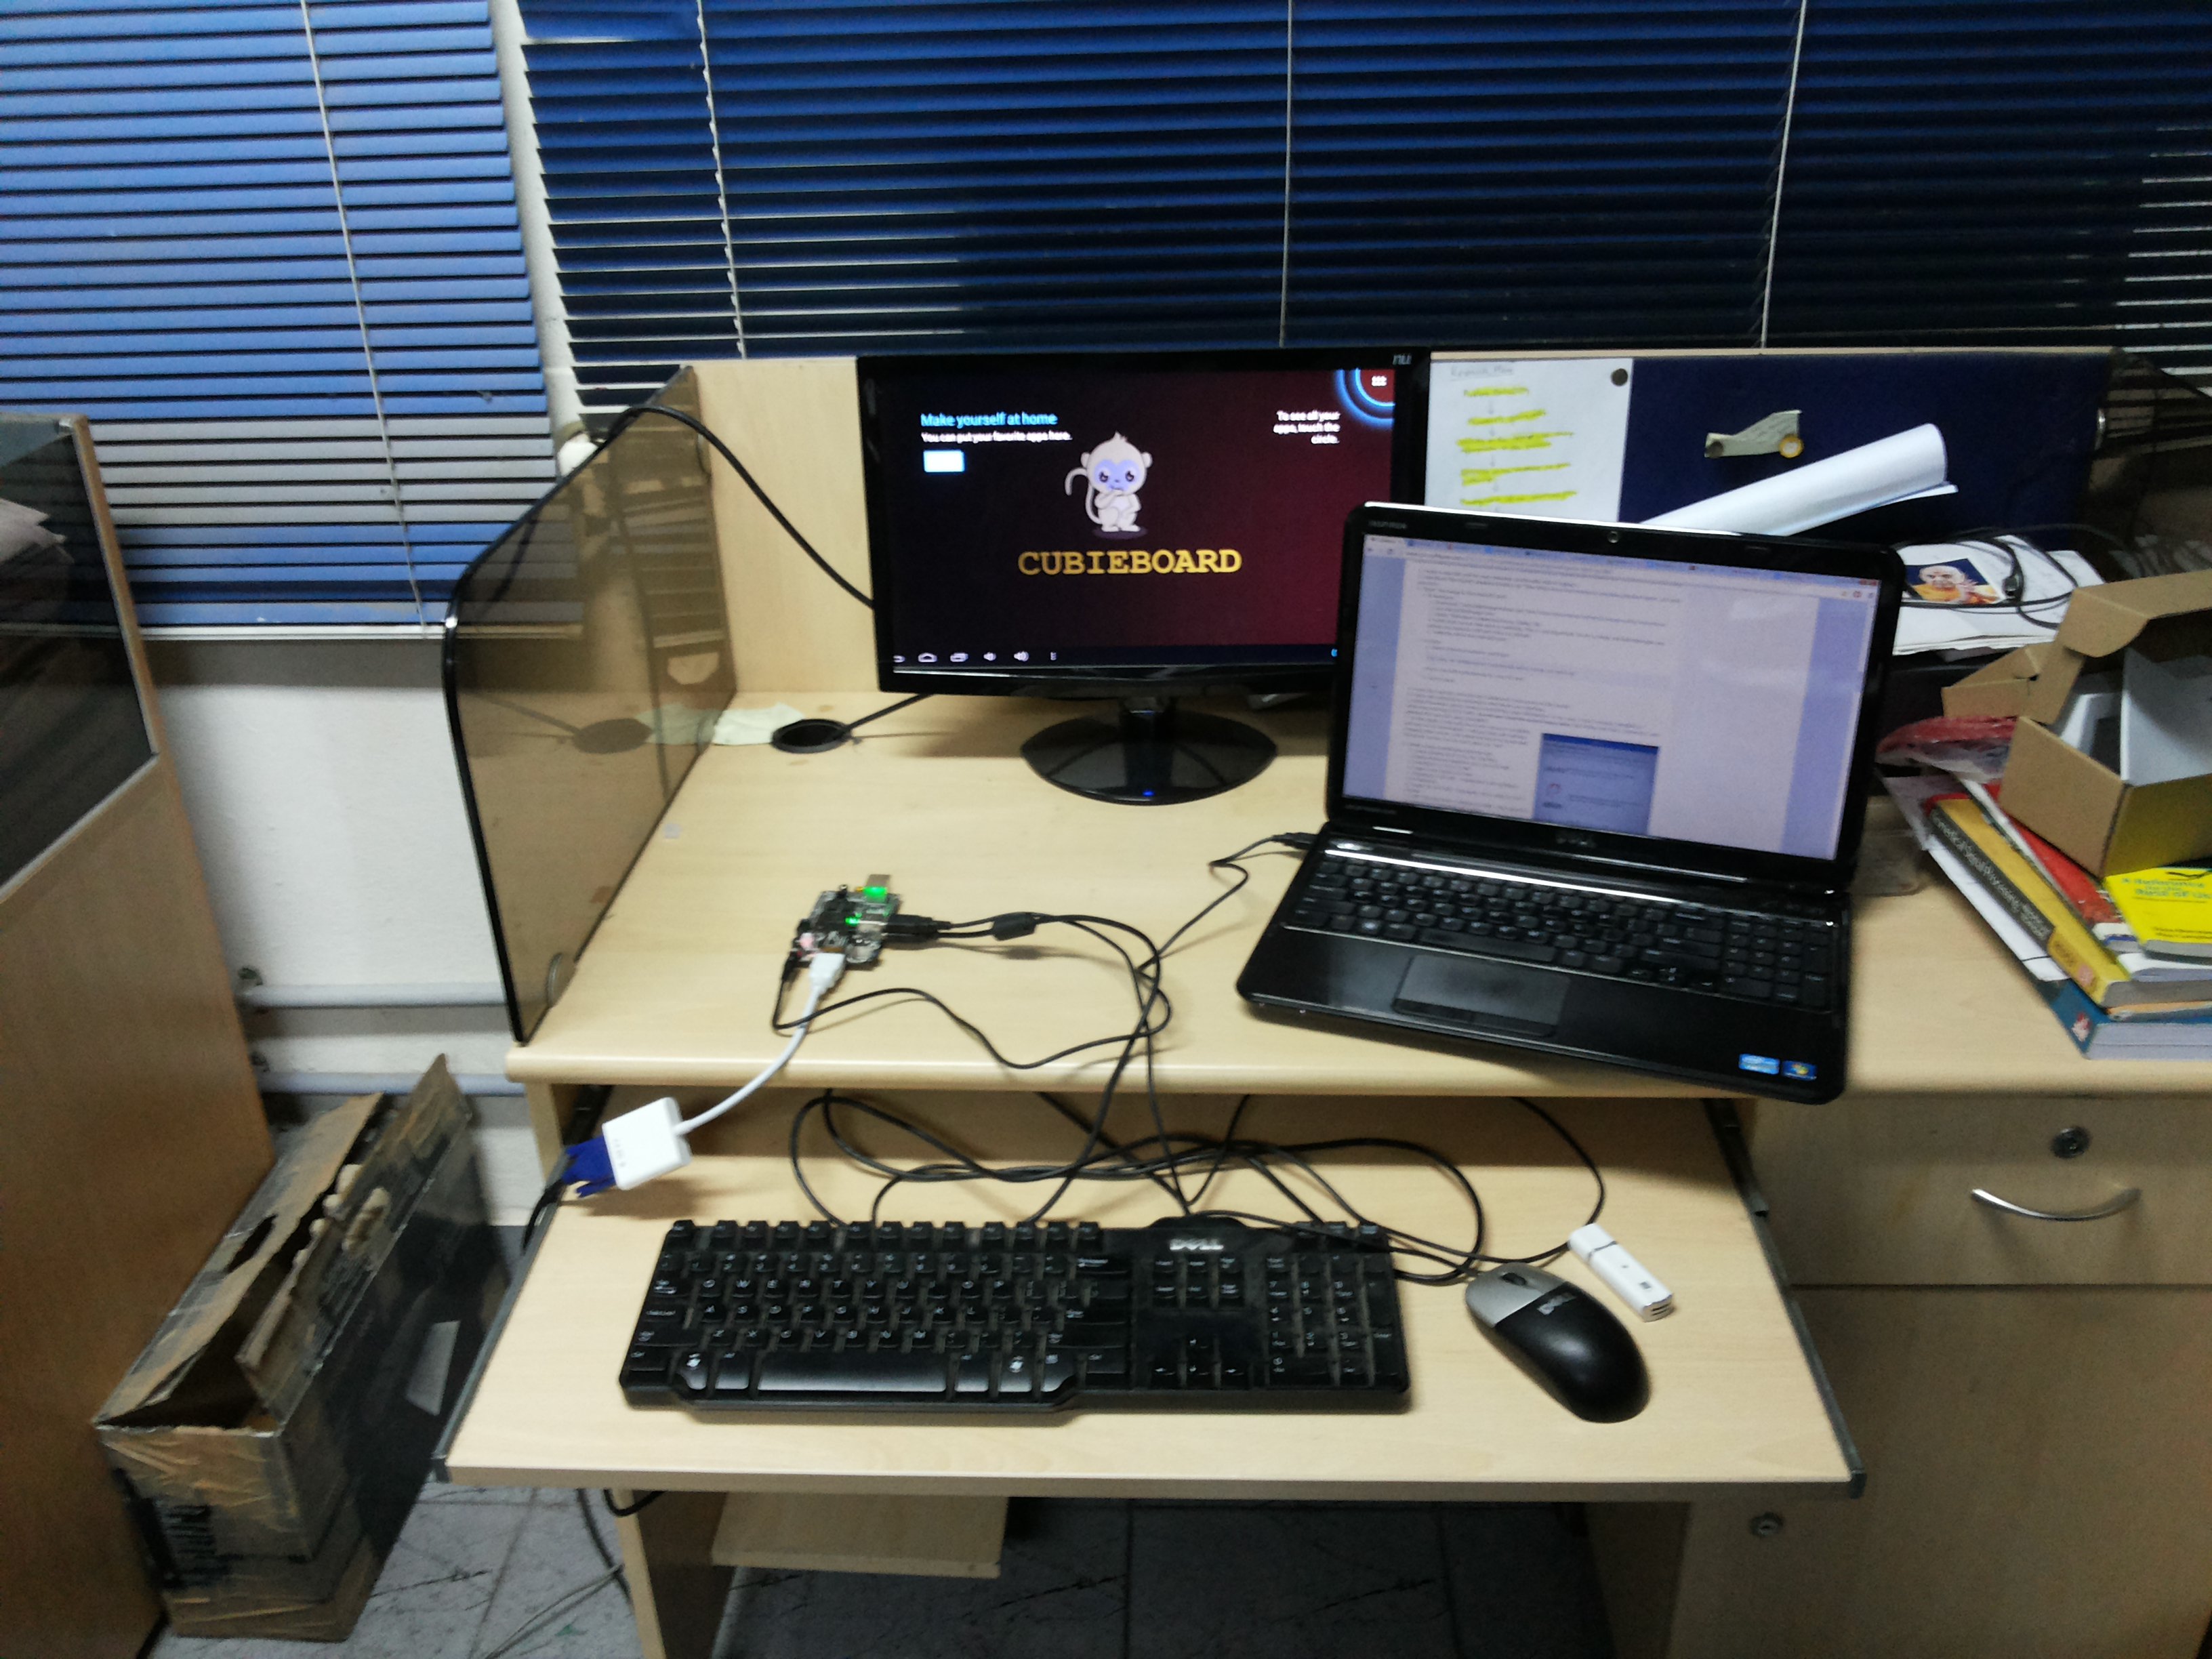
It is 20th May, and now its time to get cracking on the summer of code! 😀 My abode for the next few months: