FSP-T in open source projects
X86 CPUs boot up in a very bare state. They execute the first instruction at the top of memory mapped flash in 16 bit real mode. DRAM is not avaible (AMD Zen CPUs are the exception) and the CPU typically has no memory addressable SRAM, a feature which is common on ARM SOCs. This makes running
C code quite hard because you are required to have a stack. This was solved on x86 using a technique called
cache as ram or
CAR. Intel calls this
non eviction mode or
NEM. You can read more about this
here.
Coreboot has support for setting up and tearing down
CAR with two different codepaths:
- Using an open source implementation.
- Using a closed source implementation, using FSP-T (TempRamInit) and FSP-M (TempRamExit).
In coreboot the open source implementation is the most used one. For instance all Google chromeos platforms use it, so it's well tested.
FSP is a propriatary binary provided by Intel that can be split up into 3 components: FSP-T (which is in charge of setting up the early execution environment), FSP-M (which configures the DRAM controller), FSP-S (further silicon init). With the FSP codepath in coreboot you call into FSP-T using the
TempRamInit API to set up the early execution environment in which you can execute
C code later on. This binary sets up
CAR just like coreboot does, but also does some initial hardware initialisation like setting up
PCIe memory mapped configuration space. On most platforms coreboot is fully able to do that early hardware init itself, so that extra initialisation in FSP-T is superfluous.
After DRAM has been initialised, you want to tear down the
CAR environment to start executing code in actual DRAM. Coreboot can do that using open source code. It's typically just
a few lines of assembly code to disable the non-eviction mode that CPU is running in. The other option is to call FSP-M with the
TempRamExit API. See
FSP v2.0 spec for more information on
TempRamInit and
TempRamExit . Sidenote: running FSP-T
TempRamInit does not necessarily mean you need to run
TempRamExit, as it is possible to just reuse the simple coreboot code. This is done on some platforms to avoid problems with
TempRamExit.
It's generally a very bad idea to give up control of setting up the execution environment to external code. The most important technical reason to not do this, is because coreboot needs to be in control of the caching setup. When that is not the case you encounter all kinds of problems because that assumption is really baked in to many parts of the code. Coreboot has different stages: bootblock, romstage, ramstage and those are actually all separate programs that have their well defined execution environment. If a blob or reference code sets up or changes the execution environment, it makes proper integration much harder. Before Intel started integrating FSP into coreboot, AMD had a go at integrating their reference code, called AGESA into coreboot. Even though AGESA was not provided as blob but as open source code, it had very similar integration issues, for exactly this reason: it messed with the execution environment. As a matter of fact, Intel FSP v1.0 messed up the execution environment so badly that it was deemed fatally flawed. Support for FSP v1.0 was subsequently dropped from the coreboot master branch. So for technical reasons you want to
avoid using FSP-T inside coreboot at all costs.
From a marketting perspective FSP-T is also a
disaster. You really cannot call coreboot an open source firmware project if even setting up the execution environment is delegated to a blob.
Open source cache as ram with Intel Bootguard
One of the reasons why there still is code to integrate FSP-T inside coreboot is for Intel
Bootguard support.
Here you can read more on our work with that technology. Open source CAR did not work when the Bootguard ACM was run before reset.
So with Bootguard, the first instruction that is run on the main CPU is not the reset vector at
0xfffffff0 anymore. The
Intel Management Engine, ME validates the
Authenticated Code Module or
ACM with keys owned by Intel. The ACM code then verifies parts of the main bootfirmware, in this case the coreboot bootblock, with a key owned by the OEM which is fused inside the ME hardware. To do this verification the ACM sets up an execution environment using exactly the same method as the main firmware: using
NEM.
The reason that open source cache as ram does not work is because the
ACM did already set up
NEM. So what needs to be done is to skip the
NEM setup. You just want to set up a caching environment for the coreboot
CAR, fill those cachelines and leave the rest of setup as is. Bootguard capable CPUs have a readonly
MSR, with a bit that indicates if
NEM setup has already been done by an
ACM. When that is the case a different codepath needs to be taken, that avoids setting up
NEM again. See
CB:36682 and
CB:54010. It looks like filling cachelines for
CAR is also a bit more tricky and needs more explicit care
CB:55791.
So with very little code we were able to get bootguard working with open source
CAR!
Here you see no fspt.bin in cbfs:

and here you see that bootblock is run with a working console and that romstage is loaded. This means that cache as ram works as intended.

What's next?
Given that all Intel Client silicon now work with open source cache as ram
including Bootguard support, there are no reasons to keep FSP-T as a supported option for these platforms. There are however still Intel platforms in the coreboot tree that require FSP-T. Skylake-SP, Cooperlake-SP and Denverton-NS depend on the other early hardware init that is done in FSP-T for which there is no open source equivalent in coreboot. This makes FSP-T mandatory on those platforms, for the time being.
The advantages of being in control of the execution environment are overwhelming. From personal experience on working with the Cooperlake SP platform, we did regularly hit issues with FSP-T. Sometimes those were bugs inside the FSP-T code that had to be worked around. On other ocassions it was coreboot making assumptions on the bootflow that were not compatible with FSP being in control of the execution environment. I can firmly say that FSP-T causes more troubles than it actually solves, so having that code open sourced is the best strategy. We hope that by setting this good example with open source
Bootguard support, others will be incentivised to not rely on FSP-T but pursue open source solutions.


 OSFC 2020 was a blast - we had great talks and discussions, some virtual beers and a lot of fun - and OSFC 2021 is just around the corner!
As remote conferences are new to us (and probably to everyone else as well) we gathered feedback from you - How did you liked the conference and on what bits can we improve to make the experience better next time. Of course, everyone here at the OSFC hoped that we can do a conference in person again - sadly that has to be postponed to next year. So here we are again - going full virtual!
The overall feedback from you was good - however there was some feedback on the tools used for the OSFC that we like to share. Our main tool for running the conferences including the ticketing system was hopin.com - even though we liked the overall experience, we also noticed some minor problems around the platform:
OSFC 2020 was a blast - we had great talks and discussions, some virtual beers and a lot of fun - and OSFC 2021 is just around the corner!
As remote conferences are new to us (and probably to everyone else as well) we gathered feedback from you - How did you liked the conference and on what bits can we improve to make the experience better next time. Of course, everyone here at the OSFC hoped that we can do a conference in person again - sadly that has to be postponed to next year. So here we are again - going full virtual!
The overall feedback from you was good - however there was some feedback on the tools used for the OSFC that we like to share. Our main tool for running the conferences including the ticketing system was hopin.com - even though we liked the overall experience, we also noticed some minor problems around the platform:


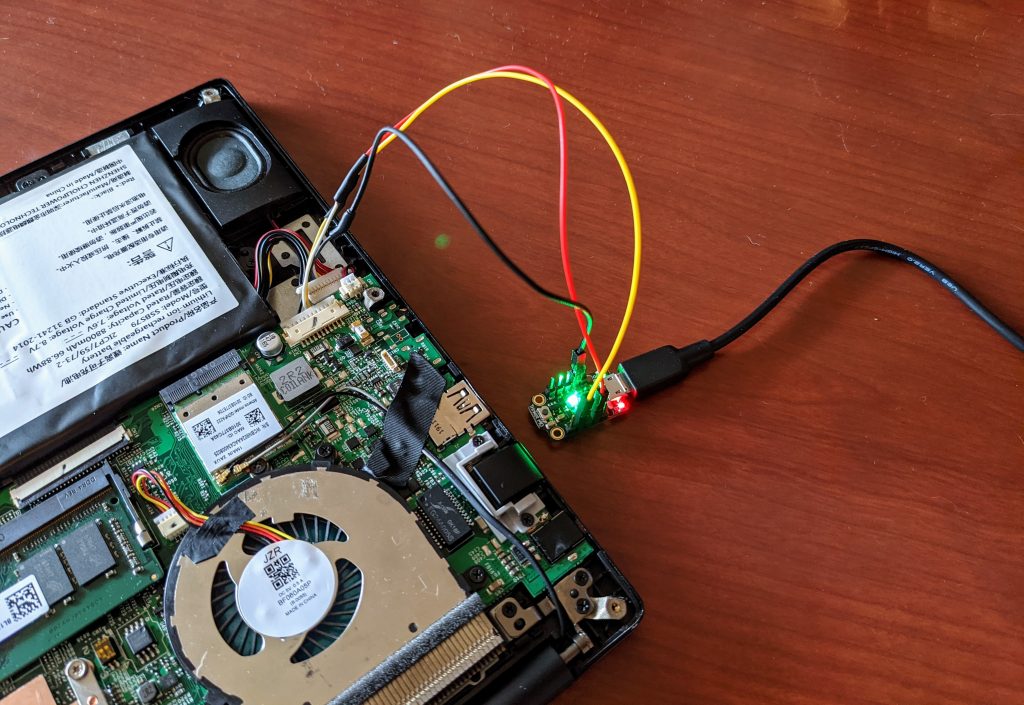
 I wanted to play around with OpenBMC on a physical board and this
  To set up a nice way to play around with OpenBMC I attempted to hook up an EM100Pro, a flash emulator via the header. This did not seem to work. I'm not sure what was going on here. It looked like the real flash chip was not reliably put on HOLD by the EM100. When tracing the SPI commands with the EM100 0xff was the response to all the (fast)read commands. I guess a fast SPI programmer will do for now in the future. OpenBMC makes updates quite easy though: just copy the image-bmc to /run/initramfs/ and rebooting will launch an update which takes a minute or so (faster than my external programmer).
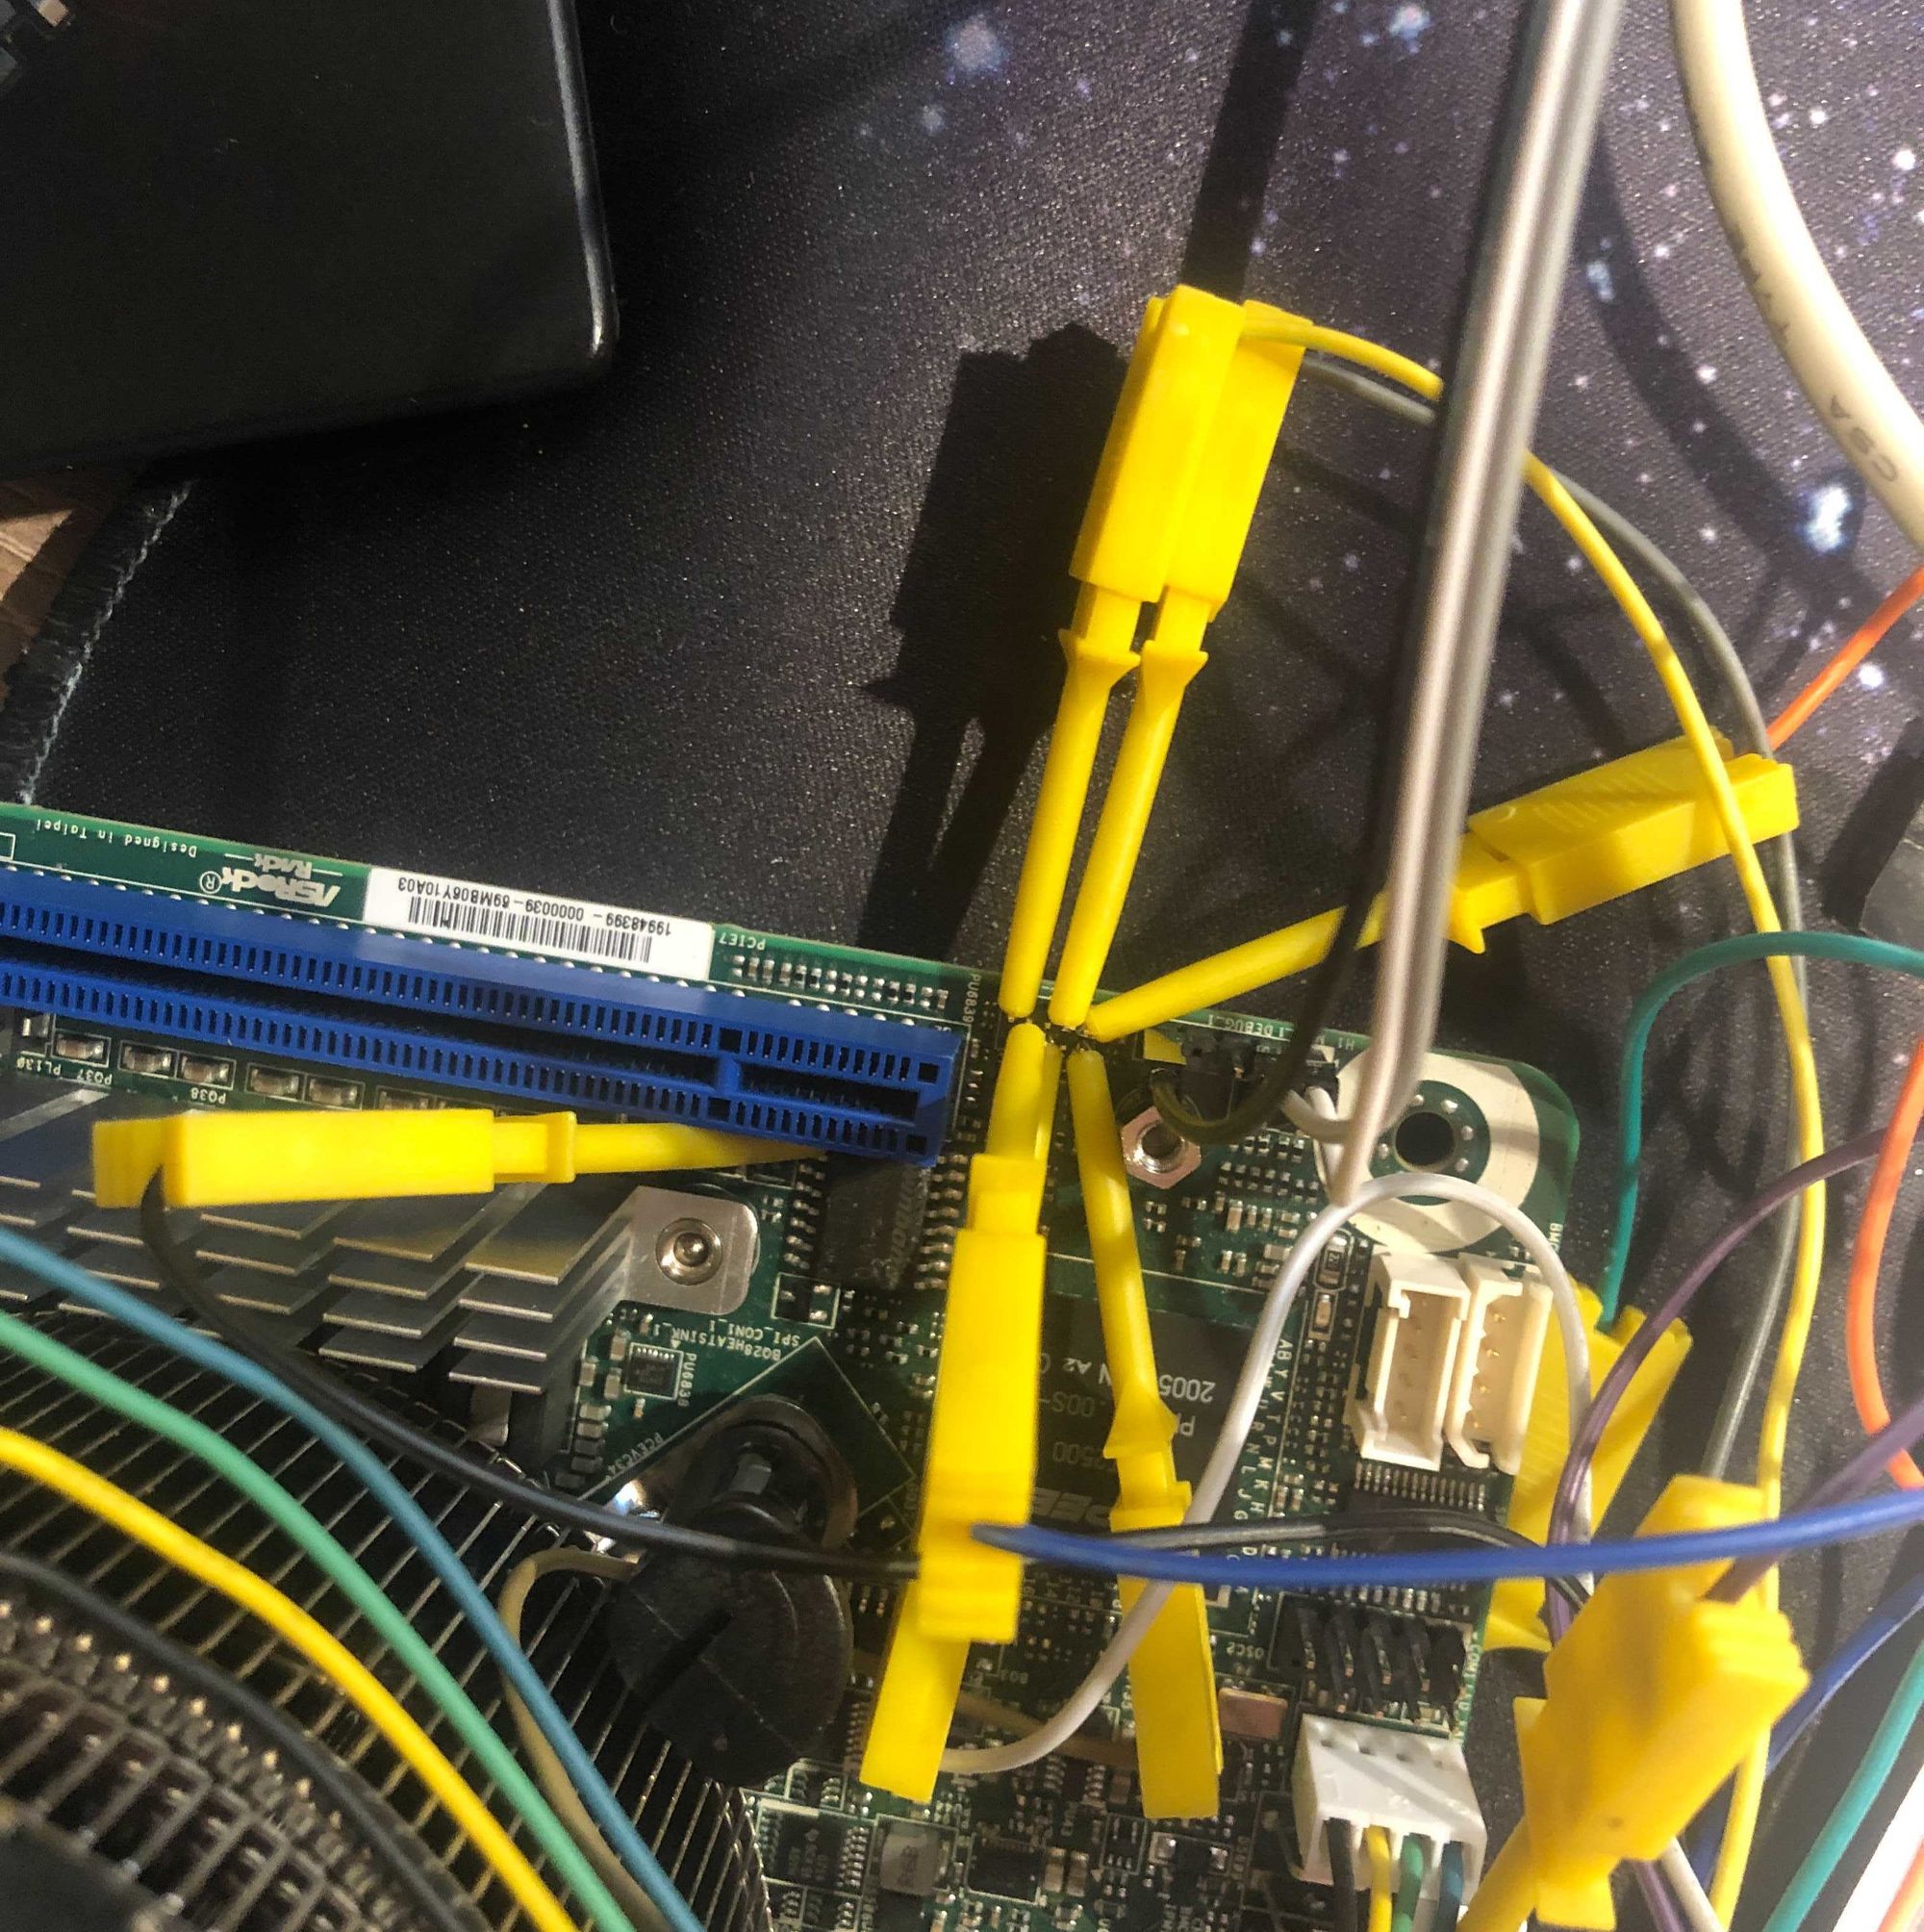
So what can OpenBMC do on that board? Not much, it seemed at first. Powering the board on and off did not work and not much else either. The author of the port, Zev Zweiss, helped me a lot to get things working though. A bit of manual gpio magic and powering on and off works well. So the upstream code needs a bit of polish to get working but using the
To set up a nice way to play around with OpenBMC I attempted to hook up an EM100Pro, a flash emulator via the header. This did not seem to work. I'm not sure what was going on here. It looked like the real flash chip was not reliably put on HOLD by the EM100. When tracing the SPI commands with the EM100 0xff was the response to all the (fast)read commands. I guess a fast SPI programmer will do for now in the future. OpenBMC makes updates quite easy though: just copy the image-bmc to /run/initramfs/ and rebooting will launch an update which takes a minute or so (faster than my external programmer).
So what can OpenBMC do on that board? Not much, it seemed at first. Powering the board on and off did not work and not much else either. The author of the port, Zev Zweiss, helped me a lot to get things working though. A bit of manual gpio magic and powering on and off works well. So the upstream code needs a bit of polish to get working but using the  You can find the code on