Hello again! For the past two weeks I have been working on Coverity issues in various third party repositories, notably flashrom and vboot. The majority of issues in both repositories are now fixed, with the remaining ones mostly being memory leaks. Also, support for OpenSBI (a RISC-V supervisor binary interface) was recently added to coreboot, and Coverity picked up several issues in that. With one more week left in the summer, the plan now is to tidy up the last few remaining issues in vboot, and shepherd my still in-progress patches through review. As usual, you can see the current status of my patches on Gerrit.
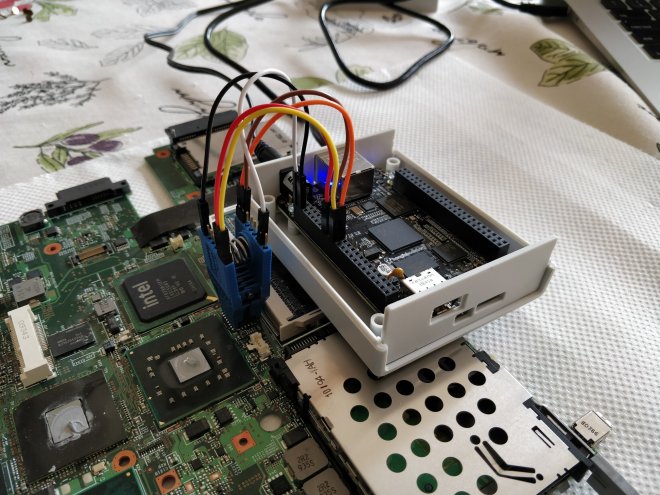
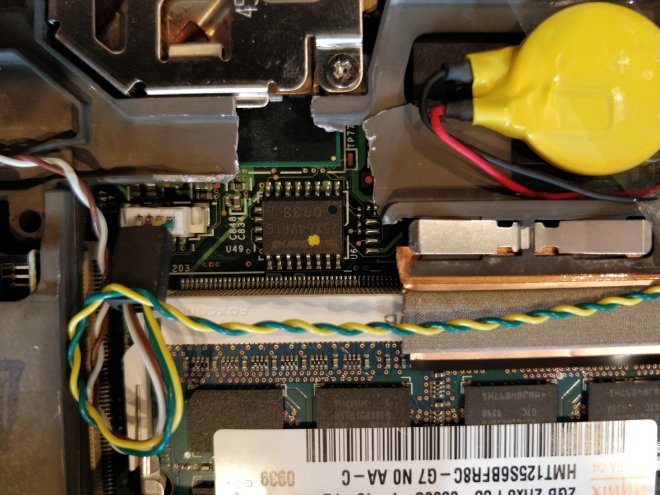
Following up from my post last week about neutralizing the ME, this week I decided to try replacing SeaBIOS with GRUB. While originally designed as a bootloader, GRUB can be compiled as a coreboot payload, which removes the need of having a BIOS or UEFI interface at all. Not only does this mean having a legacy-free boot process, but GRUB also has an incredible amount of flexibility over the previous systems. For example, one problem with current full disk encryption schemes is that the bootloader must always remain unencrypted, since factory BIOS/UEFI implementations are unable of unlocking encrypted disks. By embedding GRUB in the coreboot image we can move it off the hard drive and avoid this problem entirely.
With this in mind, I decided to try installing GRUB on a system with a single LUKS 1 partition formatted with Btrfs. (GRUB currently doesn’t support LUKS 2, which is what many distributions use by default.) This setup will require two configuration files: one embedded in the coreboot image with instructions on how to unlock the partition, and one on the hard drive for booting the kernel. The first configuration file has to be hand-written, while the second can be generated using grub-mkconfig -o /boot/grub/grub.cfg. The advantage of this two-stage system is that the first configuration file only has to be flashed once, and then all subsequent changes (e.g. adding kernel parameters) can be done with the system file. After tinkering around with the official GRUB documentation, the coreboot wiki, and this blog post, I pieced together the following bare-bones config file for the payload:
# Tell GRUB where to find its modules
set prefix=(memdisk)/boot/grub

# Keep the same screen resolution when switching to Linux
set gfxpayload=keep

# I'm not exactly sure what these do, but they look important
terminal_output --append cbmemc
terminal_output --append gfxterm

# Default to first option, automatically boot after 3 seconds
set default="0"
set timeout=3

# Enable the pager when viewing large files
set pager=1

menuentry 'Load Operating System' {

        # Load the LUKS and Btrfs modules
        insmod luks
        insmod btrfs

        # Unlock all crypto devices (should only be one)
        cryptomount -a

        # Load the system GRUB file from the first crypto device
        set root=(crypto0)
        configfile /boot/grub/grub.cfg
}
Using menuconfig, we can now configure coreboot to use GRUB as a payload.
Payload ---> Add a Payload ---> GRUB2
        ---> GRUB2 version ---> 2.04
        ---> Extra modules to include in GRUB image
             (luks btrfs gcry_sha256 gcry_rijndael all_video cat)
             [*] Include GRUB2 runtime config file into ROM image
                 (grub.cfg)
We need to add a few modules to the GRUB image to enable all the features we want: luks and btrfs are self-explanatory, gcry_sha256 and gry_rijndael add support for SHA256 and AES (the default hash and cipher for LUKS), all_video adds support for more video and graphics drivers, and cat is useful for printing config files during debugging. We also set here the path to the above grub.cfg file, which by default is in the root of the coreboot tree.
After flashing the new coreboot image, you will be greeted by two GRUB menus after booting: the above one for unlocking the partition, and then the system one for booting the kernel.
The above GRUB config file is extremely basic, and although all advanced functionality can be done manually by dropping to the GRUB command line, this is very inconvenient. Let’s add two menu entries to the config file for shutting down and rebooting the system. Fortunately, this can be done without rebuilding the ROM from scratch. By default, the GRUB config file is stored as etc/grub.cfg in the CBFS (coreboot file system), which is used to store objects in the coreboot image. We can print the layout of the CBFS using the cbfstool utility:
$ cbfstool coreboot.rom print
FMAP REGION: COREBOOT
Name                           Offset     Type           Size   Comp
cbfs master header             0x0        cbfs header        32 none
fallback/romstage              0x80       stage           58068 none
cpu_microcode_blob.bin         0xe3c0     microcode      122880 none
fallback/ramstage              0x2c440    stage          105072 none
config                         0x45f00    raw               488 none
revision                       0x46140    raw               674 none
cmos.default                   0x46440    cmos_default      256 none
vbt.bin                        0x46580    raw              1412 LZMA (3863 decompressed)
cmos_layout.bin                0x46b40    cmos_layout      1808 none
fallback/postcar               0x472c0    stage           18540 none
fallback/dsdt.aml              0x4bb80    raw             15257 none
fallback/payload               0x4f780    simple elf     470937 none
etc/grub.cfg                   0xc2780    raw               670 none
(empty)                        0xc2a80    null          7523608 none
bootblock                      0x7ef7c0   bootblock        1512 none
This shows all the objects located in the image, including the stages (bootblock, romstage, ramstage, and payload) and various other configuration files and binaries. Next, we extract the existing config file from this image:
$ cbfstool coreboot.rom extract -n etc/grub.cfg -f grub.cfg
Now add the following two entries to the end of the extracted file:
menuentry 'Poweroff' {
        halt
}

menuentry 'Reboot' {
        reboot
}
Now we delete the existing configuration file, and then add our new one back in:
$cbfstool coreboot.rom remove -n etc/grub.cfg$cbfstool coreboot.rom add -n etc/grub.cfg -f grub.cfg -t raw
That’s it! Flash back the new ROM, and you’re good to go.
Even with these changes, we still have a very basic configuration file. For more advanced setups (such as booting from a live USB, LVM support, signing kernels with GPG, etc.) I recommend looking at the comprehensive Libreboot GRUB file and its hardening guide.