cbfs_media [Week 1]

This post covers the complete set-up and building coreboot for cubieboard. Due to lack of documentation for this, I had to spend sometime figuring out the details; hence decided to write it myself to help others in the future.

  1. Step 1: Build Payload

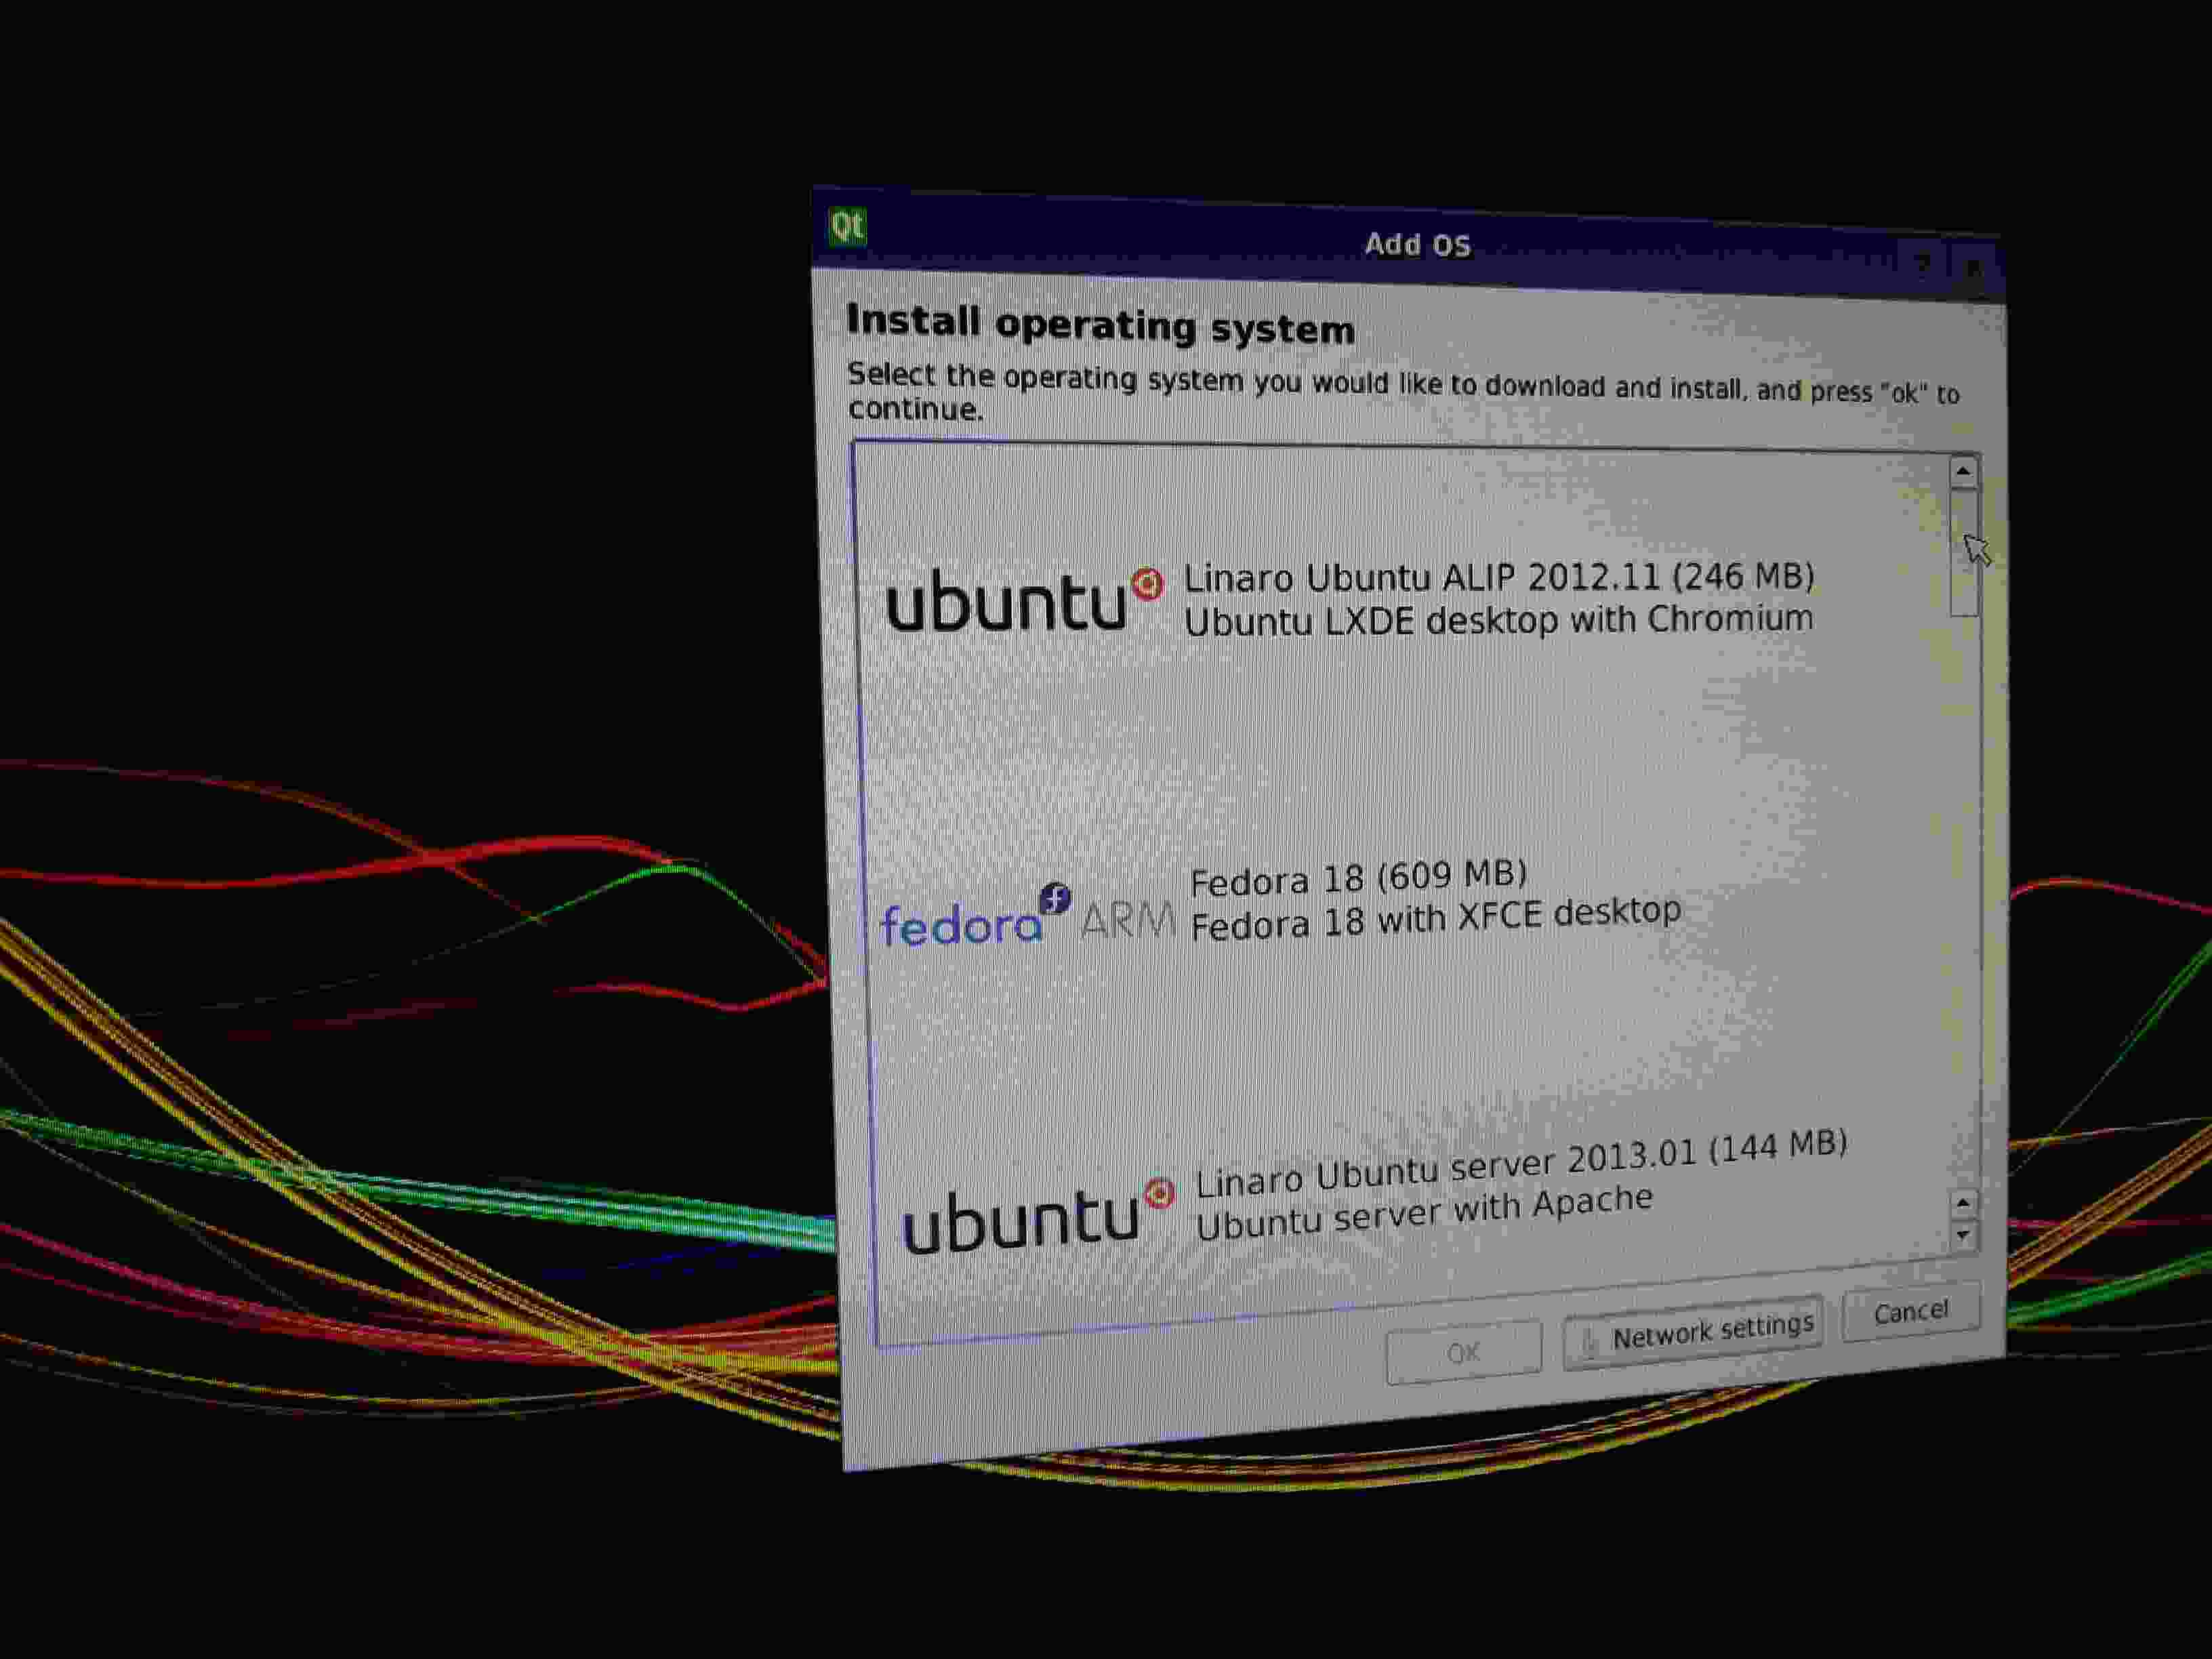
As mentioned here, what we have to do first is to build a payload to use later for coreboot.rom. A suitable ARM payload is the sunxi/uboot. Now, there are two ways to build uboot: natively or from another system. To build from another system, we need to get a suitable toolchain. For that you need to do:

apt-get install gcc-arm-linux-gnueabihf

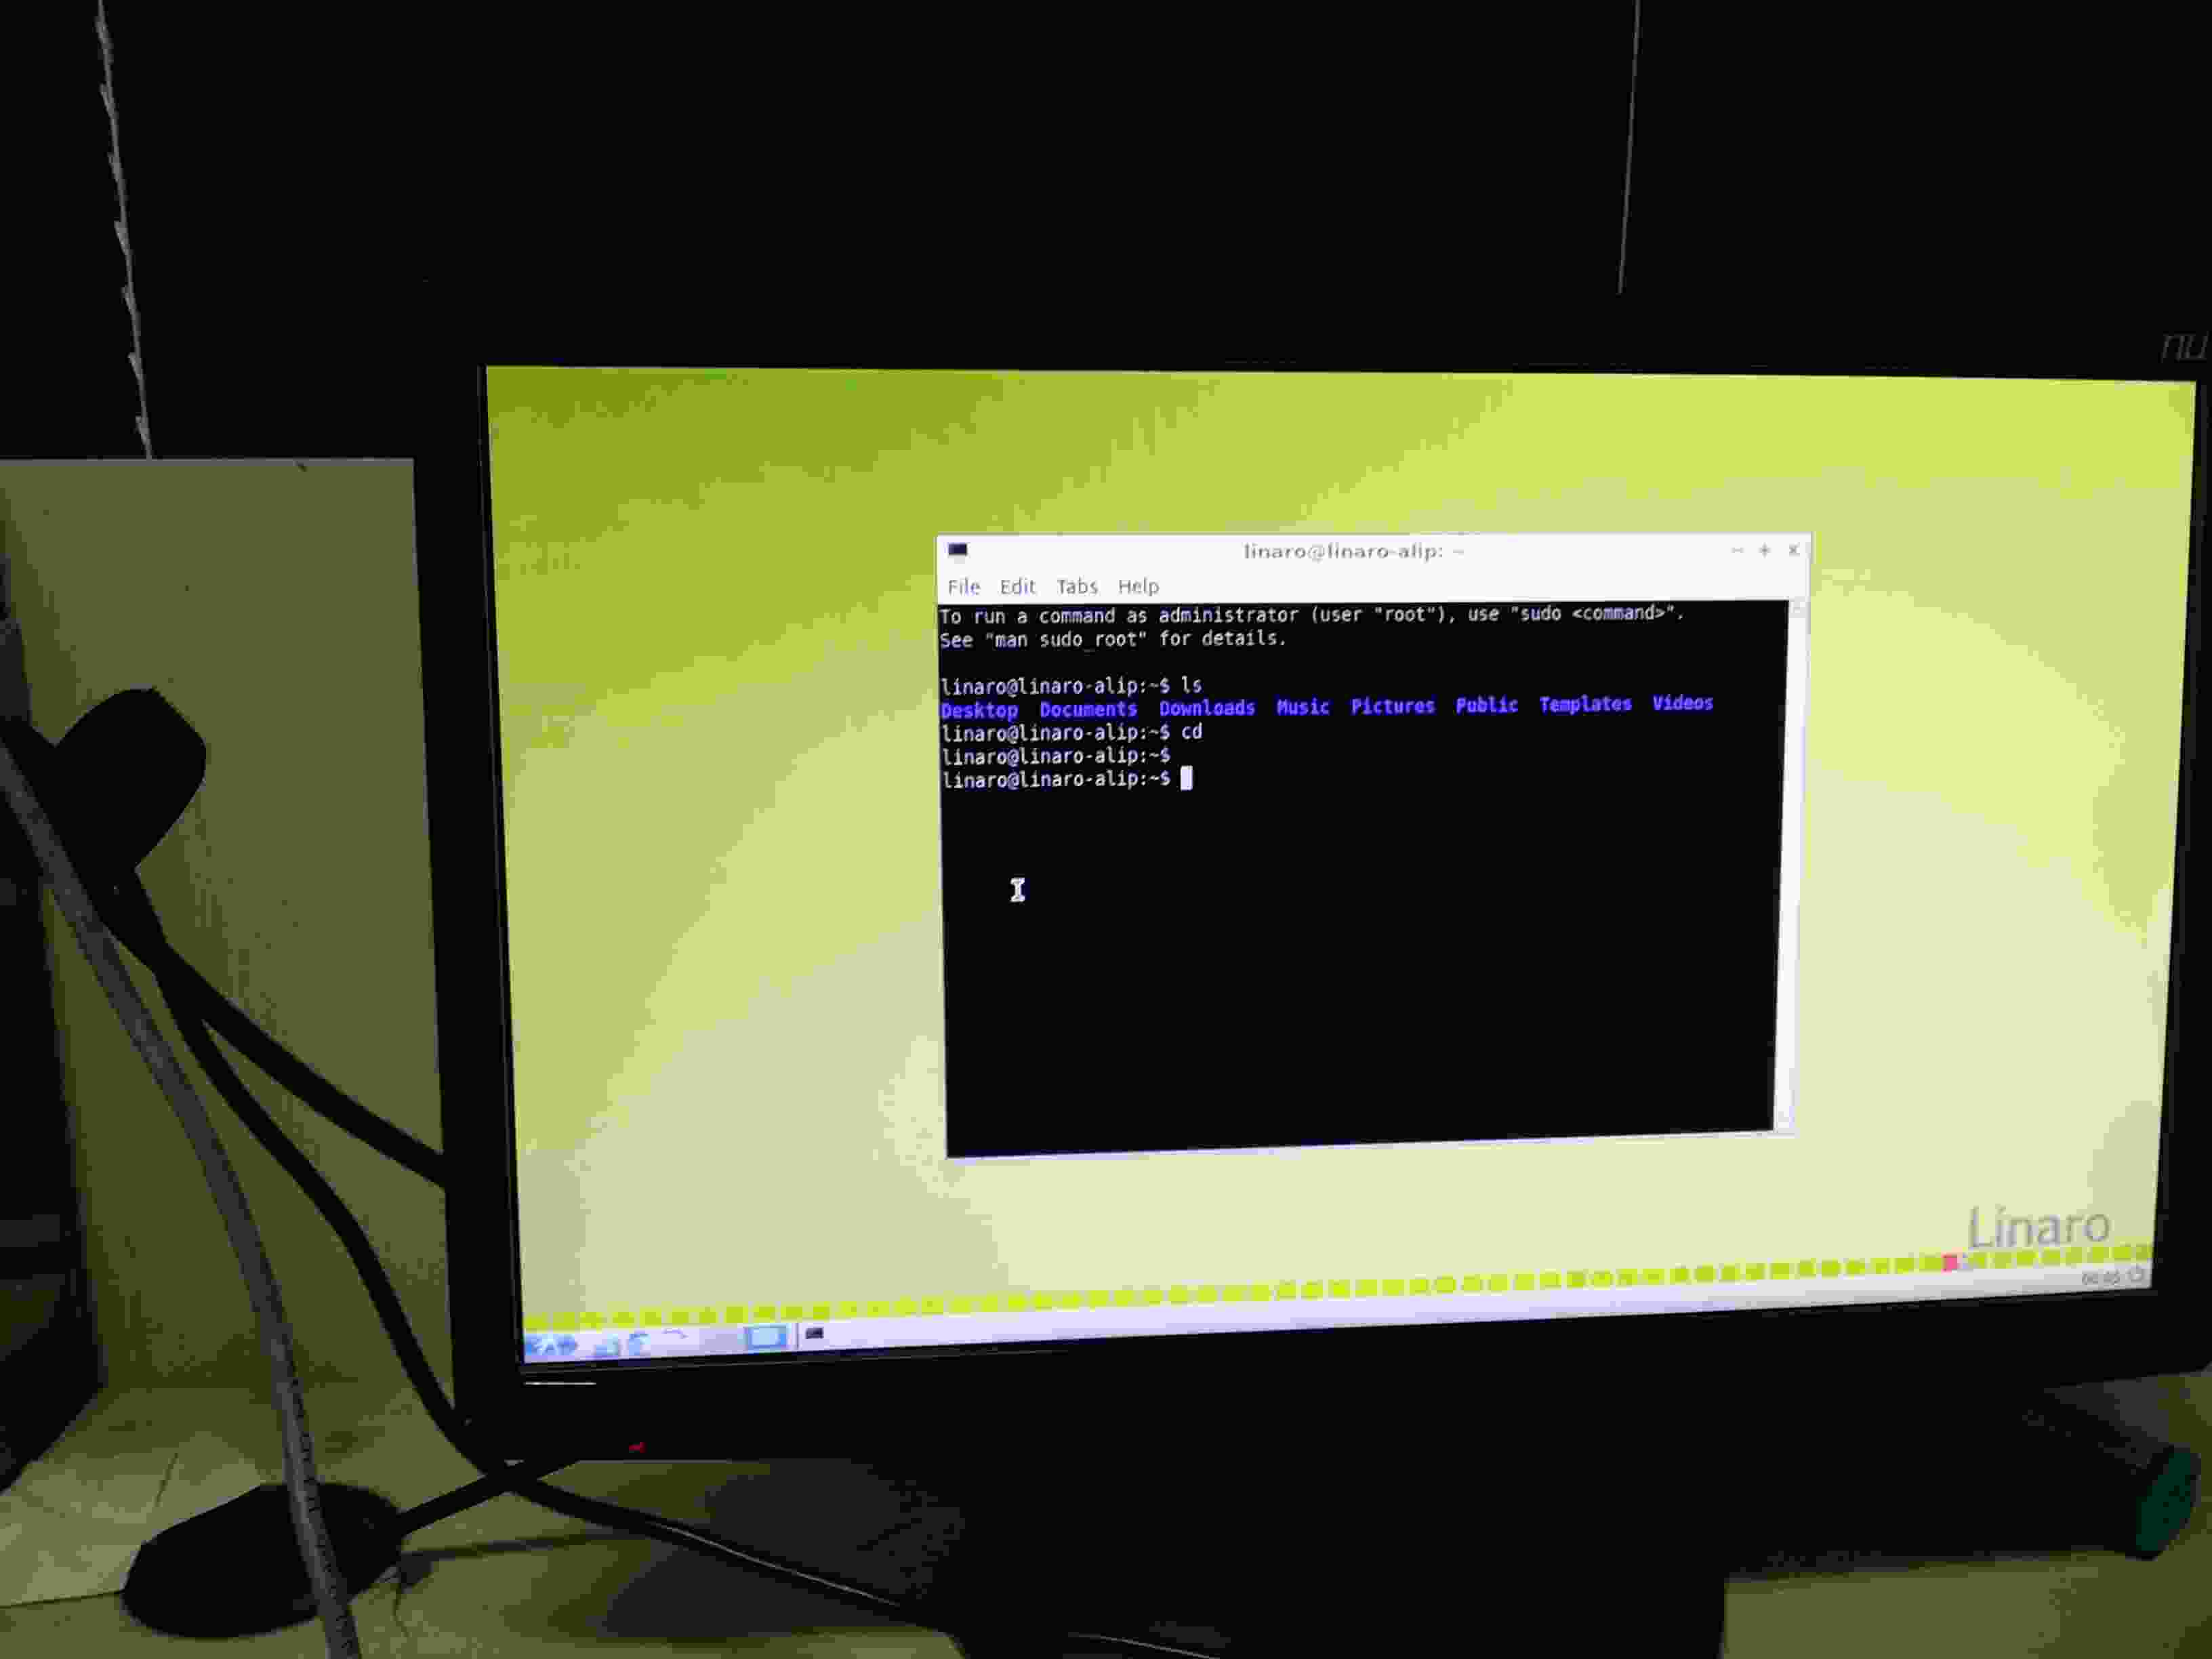
Too many issues are faced to get this toolchain set up right 😐  A more suitable and convenient method is to build uboot natively from the cubieboard itself (thanks #cubieboard for the tip :P).  For this follow the instructions here. tl;dr Clone repository, choose you target board, make (without CROSS_COMPILE). This completes building the payload.  NOTE: The correct file to use as the payload is “u-boot”, not u-boot.bin. The “u-boot” file is the non-SPL part of uboot in elf format. The log for successful build can be seen here.

file u-boot
u-boot: ELF 32-bit LSB shared object, ARM, version 1 (SYSV), dynamically linked (uses shared libs), not stripped

2.  Step 2: Build coreboot

Before following the instructions on the coreboot/Build_HOWTO, you first need the latest development code; which contains the mmc driver needed to load romstage, etc.

You need to make crossgcc first. This might take a lot of time: be patient 😛 Some missing toolchain errors can arise. Get past them by:

apt-get install bison flex patch
add-apt-repository ppa:linaro-maintainers/toolchain

Once this is done, set your suitable configuration in make menuconfig. Make sure to disable CONFIG_VGA_ROM_RUN (set by default), since it doesnt work for ARM boards. Just make and wait. Your coreboot.rom is ready. 🙂

This image needs to be placed on the SD card:

dd if=build/BOOT0 of=/path/to/sdcard/blockdev bs=1024 seek=8

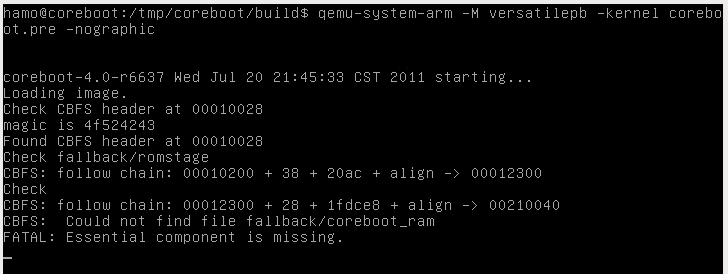
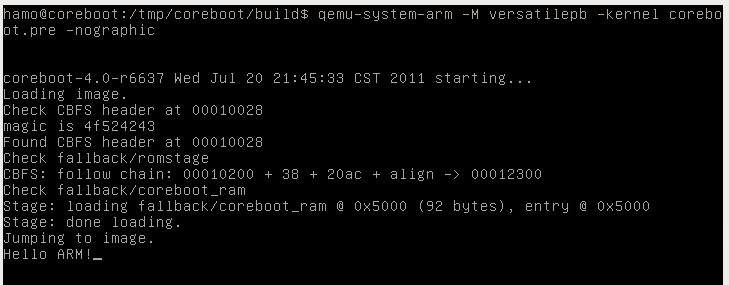
Now pfff! this is enough to get coreboot up and running! 😀

For the next week; our plan is to Identify locations of the map() and read() calls; and to determine size of each map(). The driver is currently configured to pull the entire cbfs into ram; so we work to reduce size of these mappings. 

[Pre-GSoC] Set up Phase – II

Hi All! This is in continuation with the previous blog post regarding set up. This post will contain the brief walk-through the process of setting up the cubieboard.

The first step is to burn the linux image on the micro SD card, and then use this micro SD card to boot the board. The BerryBoot interface is quite user-friendly and we can follow the instructions on it to successfully complete the process. Details for this can be found here.

The latest set of linux distributions that are available can be seen when we power on the board with the micro SD card inserted. This image depicts the screen as visible:

1After completing the installation process (takes about 10 minutes) we successfully install Linaro Ubuntu 2012.11

The Home screen looks like this:

2Thus, the set-up process is completed. A schematic for the cubieboard can be found here. Also, a cool video with the whole process can be seen here.

It is 20th May, and now its time to get cracking on the summer of code! 😀 My abode for the next few months:

20140520_204159__1400603984_14.139.82.6


[Pre-GSoC] Set-up Phase-I

Hi! This past week went in gearing up and getting ready for the Coding phase to start. I intend to use the community bonding period for set-up of necessary hardware and studying the 1000 SLOC of the existing cbfs_media interface.

I had ordered my cubieboard, the back-bone  for this project last week, to avoid any hassle due to unavailability of hardware when the coding phase actually started. I received it this week. Along with it, all other supplements like the micro-SD cards, card-reader, HDMI-cable, etc were gathered. Hardware setup : Check! 🙂

The Cubieboard has 4GB of internal memory (NAND Flash), which comes pre-loaded with Android 4.0.4, on power-on we can see it operating. For our purpose, we would need  linux on it. So, the next step is to run Linux on this board.  BerryBoot makes this very easy. We use the manual installation using SD card image, found on that link.  A very good article that I found, which describes the set-up really well can be found here.

I would write another post next week that will show some of the results of this installation.

Also, I am spending some time reading the existing cbfs_media interface, can be found here. The regions patch by Aaron highlights the direction we would be taking, with the aim of reducing the buffer size for mappings, i.e. the aim of the project, as explained in the previous post.

This Bonding Period =  Spending time on the IRC + Initial Set-up + Slogging through source codes 😛 + Writing blogs (a first for me 😀 )

GSoC [early debugging] The very short introduction

Oh dear, what did I get into again. My GSoC 2014 project page  gives you an idea of things to expect during this summer of code and seems like I have promised to deliver a lot this time. More like a complete in-circuit-debugging solution of x86 boot firmware over some readily available and low-cost USB hardware. I only scratched the surface with my GSoC 2013 when I did not get much further than a working usbdebug and some intense clean-up and preparation on the CBMEM side.

There has been serious use of usbdebug combined with SerialICE to troubleshoot and/or reverse-engineer proprietary firmwares. Tests have been done to connect GDB stub built into coreboot over BeagleBone even before debug target has initialized RAM.  Also other pieces of my project plan have already seen proof-of-concepts but the quality or the flexibility have not reached the requirements to see them in widespread use in coreboot community.

We can see more practical uses for SerialICE if we could connect QEMU, GDB, SerialIce and radare together, and visualize some of the system bus topologies at runtime. With the amount of support CPU and chipset vendors have shown towards open-source firmware development the last years, I consider this as a key part for any further community-driven mainboard ports on coreboot.

A brief progress sheet

Last week, I laid out a list of things to do in order to get more of the protocol finalized. Most of the items are crossed off, however, one little item remains standing. This item, while innocent and seemingly harmless is more painful than falling on your buttocks from a 10 story building on solid granite. Let’s have a look at why this small item is of such significance.

  • new API call set_chip_size()

When people think of QiProg, they think of one gadget with one flash chip connected. This is the common case, and, for the foreseeable future, will be the de-facto way of using QIProg. However, the original USB specification was intended for a broader use case: a programmer with several, individually addressable chips connected. One who observes the qiprog_read_chip_id() call will notice that it translates to a READ_CHIP_ID request over USB. This request will return identification data for up to nine chips. Aye, there’s the rub.

How does this play into set_chip_size()? Simple, set_chip_size for which chip? Do we send a flat list of nine uint32_t sizes, thus only needing one round-trip (control request) for all chips? Do we use the wIndex field of the round-trip, at the cost of needing one such trip for each chip? Once this question is answered, it will determine the answer for set_[erase/write]_[size/command] call and their respective USB round-trips, thus completing the USB protocol, and bringing QiProg to a usable state.

It’s easy to see why this one little detail is a blocker for all other remaining issues. I am leaning towards the use of wIndex (not the glass cleaner). Implementing a new control request in software and firmware is a matter of minutes. Testing it, and making sure it works properly is, at most, a two hour endeavor. Getting the design right: priceless.

Experiments of mind

The time for writing code is over. The time to design hardware is over. After seven weeks, the vultureprog_action_shotbeginning has come to an abrupt end. I am severely behind schedule. In week seven I was supposed to implement erase functionality — tell the programmer how to erase the chip. This is not done. On the other hand, I have had code for weeks 8 and 9 almost ready, and just merged most of it last week. So, where am I? Am I ahead or behind schedule?

The fallacy of preemption

One of the requirements for applying as a GSoC coreboot student was to have a fully established, vultureprog_probingschedule from day[-1]. Establishing this schedule was a great experience, and it allowed me to think in depth about the problem and possible solutions — to a certain degree. I picked the steps I considered logical, in the order which I saw logical. Development is never about writing code in the order in which it will be executed. In this particular case, it was much easier to implement bulk writing without a predefined erase/write strategy, opting instead for a default just-do-it approach.

Why is this approach better than following the schedule, from a development point of view? We have had bulk read partially working for a while now. From the host point of view, reading and writing are symmetrical operations. The bulk of the code (pun definitely intended) is shared between the read and write operation. They both juggle data on the same endpoint. The only difference is the endpoint direction bit. It therefore made sense, once bulk reading was fixed for corner cases, to uses the same code to send data to the programmer. Making the programmer write that data was a matter of a couple of hours. There was no sensible reason to wait an additional two weeks before implementing this last bit.

Software development work is as much about making things work, as it is about the application of programming principles with unquestionable moral authority and correctness. In this case, implementing a trivial extension reusing code fresh in my mind was the preferred approach. Not only did it save me time by not having to re-examine the situation a few weeks from now, it also allows me to have a working program/verify scenario when implementing the erase strategies. As one might imagine, this makes the problem a lot easier. Attempting to preempt and enforce a schedule before the problem is thoroughly explored, occasionally conflicts with best practices of development. With this in mind, I am neither behind, nor ahead of schedule. I am precisely where I need to be.

A matter of experimentation

Most of the infrastructure and code is already in place. Bringing QiProg to completion is no longer an issue of adding functionality through code, but rather completing functionality by connecting the existing code. One issue I discovered after testing the bulk program code was a terrible race condition between read prefetching and the write loop. The prefetch logic incremented the internal address before data arrived. As a result, the new data would get written at the wrong address. Choosing the best solution to the problem is a matter of experimentation.

The “this won’t work because of that” and “what if this” turned into a series of exhausting thought experiments. I have been bugging Peter a lot in the past few days about a series of potential issues. Through tiring thought experimentation, we eventually agreed that the best way to proceed was to abstract a lot more through the API. This is a non-exhaustive list of the decisions we’ve made in the past week:

  • set_address() is hidden from the API
  • the internal address range is not exhausted once read or written
  • read and write operations must not be interdependent, the internal read and write pointers will be distinct (as a side effect, this change also eliminates the race condition depicted above)
  • set_address() + readn() turns into read(dev, where, n)
  • All API addresses begin at 0. The programmer translates that into an absolute address
  • new API call set_chip_size()
  • new API call to explicitly erase blocks or sectors (to be defined)
  • implicit erase on write can be enabled or disabled (to be defined)
  • implicit erase will erase the sector/block right before the first byte of the sector is written
  • exposing any USB specific dependencies in the API is strictly forbidden

My focus for the remainder of this week will be to shorten this list as much as possible. Once the dependency between read and write is unshackled, I will be able to erase/program/verify my faithful SST 49LF080A. From here, it will be a matter of finalizing and implementing the last obscure bits of the specification.

The state of QiProg for flashrom

As QiProg is still being finalized, implementing it as a flashrom programmer is still a long ways ahead. I do estimate that weeks 11 and 12 will provide ample time to integrate everything into flashrom, hopefully, in time for the 0.9.8 release.

VultureProg: Equipped for galactic travel

vultureprog_ready_for_launchIt’s here! And it’s ready for takeoff. The VultureProg PCBs have finally arrived, and it is time to turn VultureProg from a proof-of-concept toy to a serious galactic tool. My major concern was that I could have misrouted one or two connections. The LAD pins are particularly sensitive, as they need to be mapped to sequential GPIO pins, and start from GPIO0, otherwise we need to do bitshitfs in every LPC cycle, killing any hope of decent performance. I was also worried that the particularly tight tolerances could be problematic during manufacture. Everything works as expected. Enough words, let’s see the porn.

vultureprog_hull
The bare PCBs
vultureprog_shuttle
Brings back memories, doesn’t it?
vultureprog_shuttle_angle
The world’s first fully assembled VultureProg board

From bitstream to reality

I found it interesting to look at the transformation from a spaghetti on the screen to something real, something tangible.

vultureprog_shuttle_sbs
From conception to birth: the complete transformation

No thorough and thoughtful post today. I have a new toy.


Launch control and a brief test-flight

superboostedLast time, I promised I would prepare you for a short test-flight. We won’t go into a full orbit, but we will turn on the thrusters, launch, and land safely. This is a real mission. We will actually launch the Stellaris into firmware low-orbit.

The Toolchain

We need a tool to transform the flight plans into something the Stellaris can understand. I will call this The Toolchain. Having a good toolchain (compiler and supporting libraries) will save us a lot of trouble. Well, it will save you a lot of trouble; I already have a decent toolchain. At the very least, the toolchain should be aware of the following:

  • Hard-float “-mfloat-abi=hard -mfpu=fpv4-sp-d16” compiled libraries
  • A minimal C library
  • libnosys

I will be using the summon-arm toolchain, but any arm-none-eabi will do. I won’t go over the details of setting up this or that toolchain. The options are plentiful.

The Debugger

We need a tool to monitor the Stellaris in-flight, and solve any potential issues. Let’s call this tool The Debugger. I will be using OpenOCD since it works for me (TM). You will need version 0.7.0 or newer, with ti-icdi support enabled. I will say no more.

HINT: if you need to build it from source, pass “–enable-maintainer-mode –enable-ti-icdi” to the configure script.

The Flight Plans

This is the fun part. I have been working since last year on Flight Plans for the Stellaris Launchpad. Courtesy of flight engineer Peter Stuge, the flight plans are available on the QiProg website (more on that later).

OK, let’s get them:

$ git clone git://git.stuge.se/vultureprog.git
$ cd vultureprog

And the flight plans for the subsystems:

$ git submodule init
$ git submodule update

Now it’s time to choose our mission:

$ git checkout 841ba3460767eefc2c744ec03c37e7e383cd8485

Now that we have everything we need:

$ make

This should get the Flight Plan primed and ready.

The Launch

Assuming everything went fine so far, we are go for launch. Prepare your Stellaris Launchpad. When you are ready for launch:

$ make flash -C boards/lm4f/stellaris-ek-lm4f120xl/

WARNING! Do not look directly in the thrusters (LEDs) of the Stellaris. Thrusters are operated at full power and may cause temporary loss of vision.

If you see the thrusters (LEDs) alternating, then launch was a success. Congratulations! During the test flight, you can try pressing the buttons on the Stellaris (HINT: they do something).

The Announcements

Peter Stuge has been kind enough to set up a website for QiProg on his own time. It’s http://qiprog.org . Stable code will be pushed to the git repositories at http://git.qiprog.org. Development will be kept on github for the time being, on my vultureprog repository. I will only be pushing stable updates to qiprog.org.

That’s all for now. Mission accomplished.


GSoC2011(Week 9): boot ARM using coreboot to romstage

Hi all. Here I come again. With one week’s work, coreboot now can add romstage to the romfile, pass control to the romstage and find ramstage. I add a new way using a binary file to add stage to a rom file. Since I have not got an idea of how to store the hardware information, no hardware initialization is done now except the console. Following I will show you some snapshots:
This is a romfile without ramstage so it hangs at finding it:

This is a romfile with a simple ramstage. The ramstage code only sends a string “Hello ARM!” to the console then hangs there. It is compressed using LZMA in the romfile and should be decompressed and copied to the RAM at address 0x5000. This romfile is for testing the decompress function and move-jump function.

Next week, I will work on the ramstage. It is one of the hardest parts since we will deal with the hardware information. I need to design it and implement it. I want my code to be tested and reviewed early for that it is not only about implementation but also design. One could change an implementation with a low cost but couldn’t change a design with a low cost.
Thanks to God and Thanks to all the coreboot developers. Working with you all is so happy and fantastic!

GSoC2011: midterm report

Hi all. Welcome to my midterm report for project “porting coreboot to ARM”.

Summary

The goal of this project is porting coreboot to ARM and taking advantage of coreboot’s strength in properly configuring PCI, SAS, SATA and SCSI devices; fast boot times; and payload support.

For ARM SOCs, the device configuring is much easier than that for X86. Most device controllers are connected through the on-chip bus. So the mainly work is focus on porting the basic layout and helping tools to ARM architecture, including CBFS, cbfstool and the codes helping loading next stage and payload into ram.

Changes to this project

At first, I want to work on Marvell ARM SOCs with PCIE support, but after checking into it, I found that mostly all the information and SDK of Marvell SOCs are covered under an NDA license. So I moved to VersatilePB from Armltd.

What works now

  • CBFS record the architecture information in the master header
  • cbfstool can detect the architecture of a rom file
  • cbfstool can create an ARM rom file with bootblock
  • bootblock for VersatilePB is ready for use
  • romstage code for VersatilePB has been written

What doesn’t work (yet)

  • cbfstool can not add-stage to the romfile due to a problem in prase_elf_to_stage
  • romstage for VersatilePB has not been tested
  • ramstage code for VersatilePB has not been written

What needs work

  • design the information struct of hardware for payload on ARM

In this week, I will try to fix the problem of add-stage on ARM and test the romstage code.
Got any feature suggestions/ideas ?